Embroidery for Beginners: Drawing with Thread
Embroidery is the craft that feels most like drawing — every line of the design is stitched by hand, and even the wobbly lines add charm. Modern kits print the pattern straight onto the fabric, so you are never staring at a blank hoop wondering where to begin.
Set up your hoop like a pro
Fabric tension is half of embroidery. Sandwich the fabric between the hoop rings, then tighten the screw while gently pulling the edges until the surface is taut like a drum. Re-tighten whenever it slackens — stitching on loose fabric is what makes stitches pucker.
Cut your thread about 45 centimetres long and, for most lines, split off two or three of the six strands. Fewer strands give delicate lines; all six give bold, raised ones. Playing with that contrast is where embroidery gets fun.
The only stitches you actually need to start
Back stitch draws lines and outlines. Satin stitch fills small shapes with smooth colour. French knots add texture and dots. Those three cover the majority of any beginner pattern, and our kit instructions show each one step by step with photos.
Do not aim for machine-perfect stitches — slight variation is exactly what makes hand embroidery look hand made. Finished genuinely beats flawless in this craft.
Choosing your first embroidery kit from our range
Our embroidery kits include the hoop, printed fabric, all the threads, needles, and a stitch guide, so your first hoop is completely self-contained. Look for designs described with outlines and small fills rather than large solid areas — big satin-stitch fills are the slowest part for new stitchers.
The hoop in the kit doubles as the frame: when the last stitch is done, trim the fabric, gather it at the back, and it is ready to hang as is.
Frequently Asked Questions
Yes — with a printed pattern and three basic stitches you can finish a genuinely lovely first hoop. The learning curve is gentle and every session builds visible progress.
Ours include a bamboo hoop, fabric with the design printed on it, all required threads, needles, and photographed stitch instructions. Scissors are the only thing from home you might want handy.
Keep it in the hoop: trim the excess fabric to a few centimetres, run a line of simple stitches around the edge, and pull it tight to gather the fabric behind the hoop. It hangs on a single nail.
Related Kits Worth Exploring
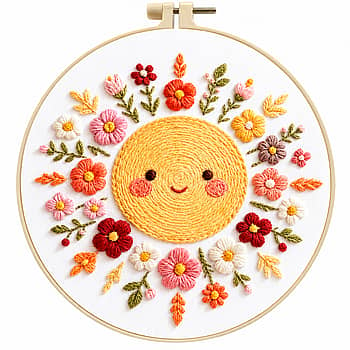
Hello Sunshine
Pure happiness in every stitch. Hello Sunshine is a cheerful little project made to brighten your day, with plenty of pl
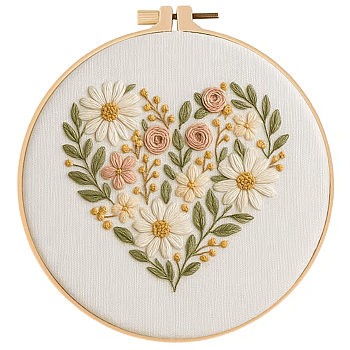
Wildflower Heart
A little love, stitched your way. Wildflower Heart is a sweet and satisfying project packed with delicate details and ti
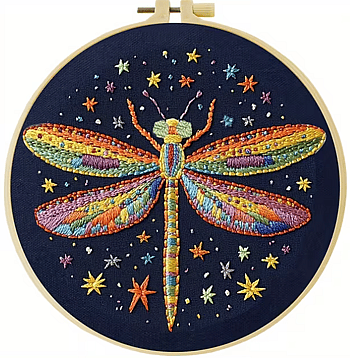
Starlight Drift
Bright, bold, and impossible to ignore Starlight Drift is all about colour in motion. With a radiant dragonfly soaring t
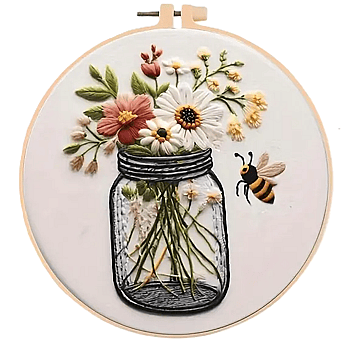
Honey Jar Garden
A little sunshine, a little sweetness, Honey Jar Garden captures that quiet joy of fresh flowers on the windowsill and t
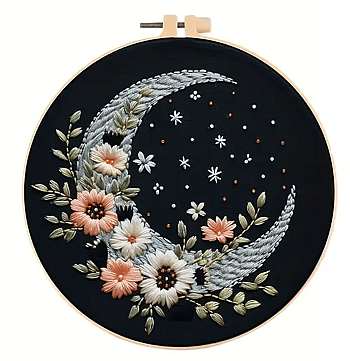
Lunar Bloom
Stitch a little starlight with Lunar Bloom, a dreamy 20 cm embroidery kit featuring a crescent moon wrapped in soft flor
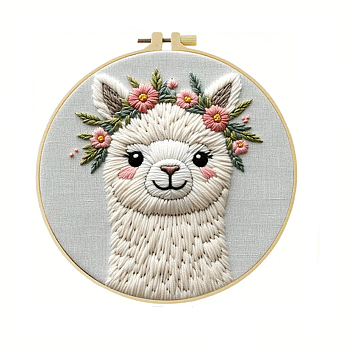
Llama Bloom
Meet Llama Bloom. A 20 cm embroidery kit full of cheerful charm and floral flair. With her sweet smile, fluffy stitches,
Start your first hoop this week
Hoop, printed fabric, threads, and stitch guide included — just add a quiet evening.